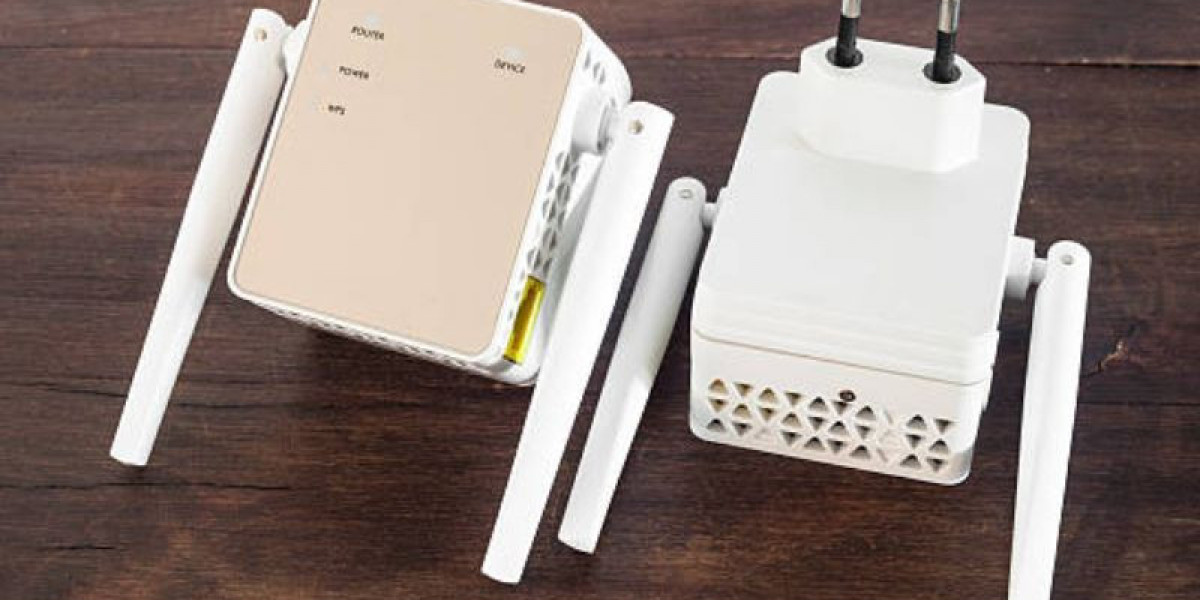
The easiest methods to connect the Nighthawk extender with your home router is WPS. It is a button on the extender and router. By pressing the buttons, extender links with the router.
The post is all about how to complete the Nighthawk extender setup via WPS method. But we will also provide the steps for the other methods.
Nighthawk Extender Setup via WPS
- Plug the extender into an outlet. Doesn’t matter where at first. Just get it close-ish to your router so the signal is decent while setting up. You can move it later.
- On the extender, hit the WPS button. Usually, a little round button with arrows on it. Hold it for a couple seconds until the WPS LED starts blinking.
- Now run to your router. Hit the WPS button there too. Some routers have it labeled, some hide it on the back. Press it.
That’s basically it. The two devices do their little handshake behind the scenes. The extender LED should eventually go solid green (or whatever color yours uses). That means it linked up.
Other Extender Setup Methods
Via Nighthawk App
· Grab your phone and download the Nighthawk app. It’s on iOS and Android. Once it’s installed, open it up and log in with your Netgear account.
· The app should automatically scan for devices. If it doesn’t, tap “Add Device” and pick “Extender.” At this point, your extender should be blinking some goofy LED lights.
· Connect your phone to the extender’s temporary WiFi (it’ll look something like NETGEAR_EXT). Your phone might complain about no internet.
· Back in the app, it’ll walk you through the setup. You basically tell the extender which WiFi network it’s extending (pick your main WiFi, type in the password, and wait).
· Once it connects, the app makes you choose if you want the extender to use the same WiFi name or a different one. Honestly, just keep the same name unless you like switching networks manually. Same name = smoother handoff.
· After that, the Netgear Nighthawk app reboots the extender, reconnects everything, and you should see a green light. That’s it.
· At this point, walk around your house and check signal. If your bars don’t look better in the dead zone, move the extender a little closer to the router and redo the setup.
Via Mywifiext Interface
· Plug the extender in. Make sure it’s in a spot where it’s actually getting decent signal from your router. Don’t stick it in the basement or behind three walls and expect miracles.
· Next: connect to the extender’s network. It usually shows up as something like NETGEAR_EXT on your phone or laptop. No password at this stage, just hop on.
· Now go to your browser and type in: mywifiext.net (If that doesn’t load, try 192.168.1.250. Sometimes the mywifiext thing just refuses to open.
· When you’re in, you’ll get the Netgear setup wizard. It’ll ask you to create an admin login. This isn’t your WiFi password, it’s just for the extender’s settings.
· After that, it’ll scan for your existing WiFi. Pick your home network from the list, punch in the password, and then it’ll ask if you want to extend both 2.4GHz and 5GHz (say yes, unless you have some weird reason not to).
· It’ll then reboot itself. This is the part where you sit there staring at blinking lights wondering if it died. Give it a couple minutes.
· Once the lights settle, you should see a new WiFi name pop up with “_EXT” at the end. That’s your extended network. Connect to it, check if the internet works.
Troubleshooting Tips
1. Don’t trust the WPS button first try.
Everyone says, “just press WPS.” Yeah, cool, except half the time it doesn’t actually connect, or it grabs the wrong band. If WPS fails, don’t waste 20 more minutes pressing it again. Just log into the extender’s setup page directly.
2. Direct connect to it.
Grab a laptop or even your phone, connect straight to the extender’s Wi-Fi (it’ll usually be something like NETGEAR_EXT). If you’re wired in with Ethernet, even better. Open a browser and go to mywifiext.net. That’s where the actual nighthawk app com setup wizard lives.
3. Clear old settings.
If you’ve tried before and messed it up, factory reset the extender. Tiny reset button on the back — hold it with a paperclip for like 10 seconds. Light will blink. Start fresh. Don’t bother fighting old configs.
4. Pick the right spot.
This is the one people forget. If you set it up too close to your router, pointless. Too far, it won’t grab a clean signal. Rule of thumb: about halfway between your router and the dead zone you’re trying to fix. You want it in range of the router’s good signal, not the weak one.
6. Name your networks smartly.
When the extender asks if you want to use the same SSID as your router — I always pick a slightly different name. Like add _EXT at the end. Makes it obvious which one you’re connected to. Saves a lot of “why is my Wi-Fi slow” confusion later.
7. Firmware updates matter.
Extenders ship with buggy firmware sometimes. Once it’s online, log into the extender’s dashboard and check for updates. It’s boring but fixes weird issues like random disconnects.


