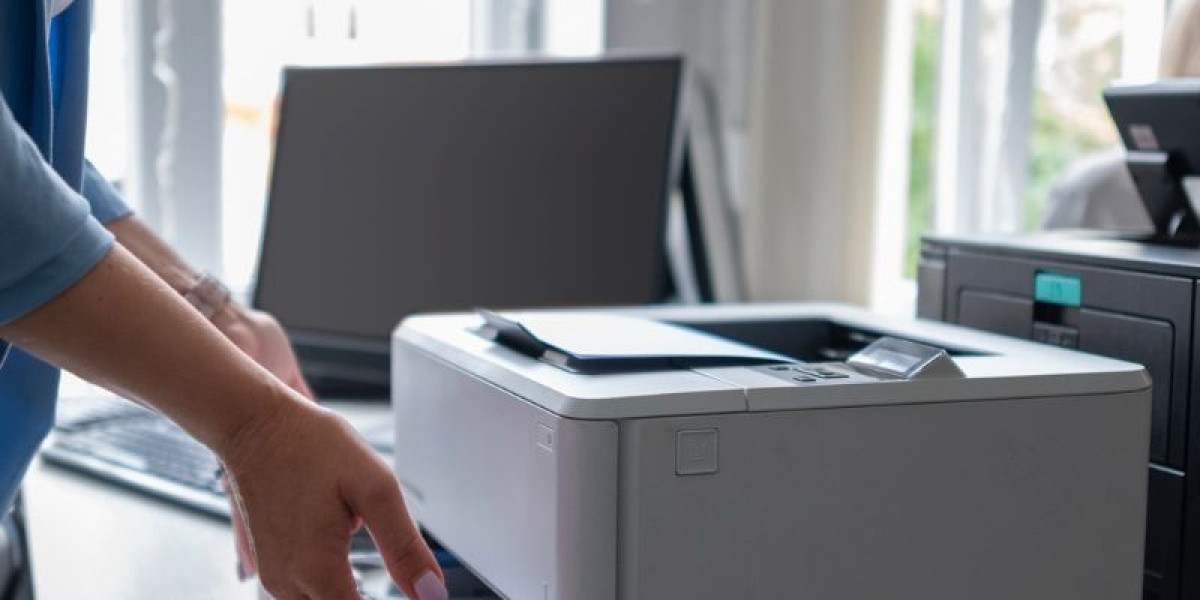
Setting up a new Dell printer can seem like a daunting task, whether it's a sleek new inkjet for your home office or a robust laser printer for your business network. The good news is, with the right information and a step-by-step approach, the Dell printer installation process is straightforward and manageable. This comprehensive guide will walk you through everything you need to know, from unboxing your new printer to getting it connected and ready to print.
Part 1: The Initial Unboxing and Physical Setup
Before you even think about software, you need to get your printer out of the box and physically prepared. This is a crucial first step that ensures the rest of the process goes smoothly.
Unbox the Printer: Carefully remove the printer and all its components from the packaging. Be sure to check for any hidden accessories, such as power cords, USB cables, or installation CDs.
Remove All Packing Materials: Printers are shipped with a lot of protective material—tape, foam, and plastic inserts—to prevent damage. It's vital that you find and remove all of these pieces, both inside and outside the printer. Check the paper trays, the toner or ink cartridge area, and the scanner lid (if applicable). Leaving any of these in can cause paper jams or other issues.
Install the Ink or Toner Cartridges: This is where you'll insert the ink or toner cartridges that came with your printer. The process varies by model, so consult the quick-start guide or user manual. Typically, you'll open a designated compartment, remove the cartridges from their packaging, and snap them into place. Don't forget to remove any protective seals or caps from the cartridges themselves.
Load Paper: Place a stack of plain paper into the main paper tray. Make sure the paper is aligned correctly and that you don't overfill the tray.
Connect to Power: Plug the power cord into the printer and then into a wall outlet. It's best to plug directly into the wall rather than a surge protector or power strip, as some printers can have power-related issues with these.
Power On the Printer: Turn on your printer and follow any on-screen prompts. This is where you might set the language, date, and time. Some printers will also print an alignment page at this point, which is a normal part of the setup.
Part 2: The Software and Driver Installation
Once your printer is physically ready, it's time to connect it to your computer or network. This is where the installation of the correct software and drivers comes into play.
Option A: Automatic Installation (For Wired Connections)
For many modern Dell printers, particularly those connecting via a USB cable, the process is incredibly simple.
Do NOT Connect the USB Cable Yet: This is a common mistake. You'll be prompted to connect the cable later in the process.
Turn on Your PC: Make sure your computer is on and ready.
Windows Auto-Install: For most recent versions of Windows, once you connect the printer with the USB cable, the operating system will automatically detect it, download the necessary drivers, and complete the installation for you. You'll see a notification pop up when it's finished. This is the easiest and most common way to get started.
Option B: Manual Installation (Recommended for All Users)
While the automatic method is convenient, manual installation is often more reliable and ensures you have the latest software and features. This is the recommended approach for all users, especially for those setting up a wireless printer.
Find Your Printer's Model Number: This is crucial. Your printer's model number is usually on the front of the printer or on a label on the back. It's also on the box it came in.
Go to the Dell Support Website: Open your web browser and navigate to the official Dell support website.
Search for Your Printer: Enter your printer's model number or its Service Tag (if you can find it) into the search bar. This will take you to the product support page for your specific printer.
Download Drivers and Software: On the product page, look for the "Drivers & Downloads" section. Here you will find a list of available downloads.
Drivers: Download the latest printer driver for your operating system (e.g., Windows 11, macOS). Choose the full software package if it's available, as it often includes additional utilities that can be helpful.
Firmware: While not always necessary for the initial setup, it's a good practice to check for and download any available firmware updates. Firmware is the software that runs on the printer itself.
Run the Installer: Once the download is complete, double-click the file to start the installation wizard. Follow the on-screen instructions carefully.
Connect When Prompted: The installer will guide you through the process and tell you exactly when to connect the printer.
For USB: The wizard will prompt you to connect the USB cable.
For Wireless/Network: The wizard will guide you through connecting the printer to your Wi-Fi network. You'll need your network name (SSID) and password. Make sure your computer and the printer are on the same network.
Part 3: Post-Installation and Troubleshooting
Once the software is installed and your printer is connected, you're almost ready to go. Here are a few final steps and common troubleshooting tips.
Print a Test Page: After the installation is complete, a test page is often printed automatically. If not, go to your computer's "Printers & Scanners" settings and select your new Dell printer. Look for an option to "Print a test page." This confirms that the printer is working correctly.
Set as Default Printer: If this is your main printer, it's a good idea to set it as your default. This means you won't have to select it every time you want to print a document. You can do this in your operating system's printer settings.
Common Troubleshooting:
Printer Not Found: If your computer can't find the printer, double-check that the power is on, the cables are secure, and that the printer is on the same Wi-Fi network as your computer.
Paper Jam: If you encounter a paper jam, turn the printer off, carefully remove the jammed paper, and then restart the printer.
Driver Not Working: If you have issues, try uninstalling the old drivers and starting fresh. The Dell support website often has instructions on how to do this.
Conclusion
A successful Dell printer installation is all about patience and following the correct steps. By unboxing carefully, following the software installation process—especially by downloading the latest drivers from the official Dell website—and performing a simple test print, you can get your printer up and running in no time. For more in-depth guides and solutions to common printer problems, remember to visit reliable resources like Printer Setup Zone, where you can find easy-to-follow advice for all your printing needs.


