Printing 1099 and 1096 forms is an essential task for businesses to remain compliant with IRS regulations. QuickBooks Desktop simplifies this process, but users sometimes encounter errors that can disrupt filing. This guide will walk you through how to print form 1099 and 1096 in QuickBooks Desktop accurately, avoid common mistakes, and ensure timely submissions.
Understanding 1099 and 1096 Forms
Before diving into QuickBooks, it’s crucial to understand what these forms represent:
Form 1099: Used to report payments made to independent contractors and non-employees for services totaling $600 or more during a tax year.
Form 1096: Serves as a summary form sent along with paper 1099 forms to the IRS.
Accurate printing of these forms ensures compliance and prevents penalties for incorrect reporting.
Step 1: Prepare Your QuickBooks Desktop Data
Before printing, verify that all vendor and payment information is accurate:
Update Vendor Records:
Navigate to Vendors > Vendor Center.
Ensure every contractor has their correct name, address, and Tax Identification Number (TIN).
Assign the contractor the “Track payments for 1099” option.
Check Payment Amounts:
Go to Reports > Vendors & Payables > 1099 Summary.
Verify that all payments meet IRS reporting thresholds.
Correct any discrepancies before proceeding to printing.
Step 2: Set Up 1099 Forms in QuickBooks Desktop
Open 1099 Wizard:
Go to Vendors > Print/E-file 1099s > 1099 Wizard.
Choose the Correct Form Type:
QuickBooks Desktop supports both 1099-MISC and 1099-NEC forms.
Select the relevant form based on payments made.
Map Accounts:
Map your expense accounts to the appropriate 1099 boxes (e.g., contractor payments to Box 1 for non-employee compensation).
Double-check for accuracy to avoid IRS rejection.
Step 3: Print Form 1099 and 1096 in QuickBooks Desktop
Once your data and accounts are ready, you can proceed with printing:
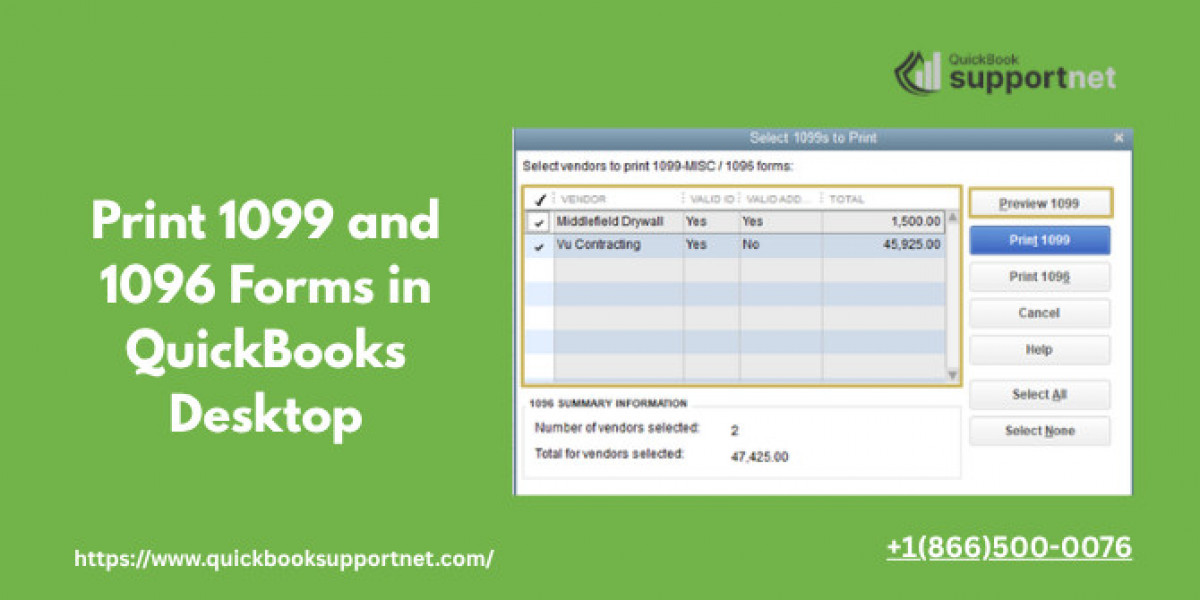
Select Vendors:
Choose the vendors for whom you need to print forms.
Preview Forms:
Click Preview 1099s to ensure all details are correct.
This step helps you catch errors before printing official forms.
Print 1099 Forms:
Insert pre-printed 1099 forms into your printer.
Click Print 1099s.
Select the appropriate printer and check alignment with the form boxes.
Print Form 1096:
After printing all 1099 forms, QuickBooks allows you to print the accompanying 1096 summary.
Verify totals match the individual 1099 forms.
Common Errors and How to Avoid Them
While printing 1099 and 1096 in QuickBooks Desktop, some users encounter the following issues:
Incorrect Vendor Information:
Ensure vendor TINs, names, and addresses match IRS records.
Mismatches can trigger IRS penalties.
Misaligned Print on Forms:
Always use pre-printed forms recommended by QuickBooks.
Run a test page to adjust alignment if necessary.
Wrong Form Type:
Use 1099-NEC for non-employee compensation and 1099-MISC for other payments.
Using the wrong form can lead to processing errors.
Duplicate Payments:
Check your 1099 Summary Report to ensure no duplicate payments are included.
Tips for Smooth 1099 and 1096 Filing
Update QuickBooks Desktop: Ensure your software is updated to the latest version to avoid compatibility issues.
Backup Your Data: Always backup your company file before printing official IRS forms.
Use E-Filing: QuickBooks Desktop also supports e-filing, which is faster and reduces the risk of misalignment.
Check IRS Deadlines: Typically, forms must be sent to contractors by January 31 and to the IRS by the end of February (or March 31 if filing electronically).
Contact QuickBooks Experts for Assistance
Even with careful preparation, you may encounter printing errors or technical glitches. Expert assistance can help resolve these issues efficiently. You can reach QuickBooks support at +1(866)500-0076 for professional guidance.
Conclusion
Printing 1099 and 1096 forms in QuickBooks Desktop doesn’t have to be stressful. By carefully preparing vendor data, mapping accounts correctly, and following the QuickBooks printing wizard, you can ensure accurate submissions and avoid IRS penalties. Always double-check your forms and consider e-filing for a faster, more reliable process.
For more tips, updates, and detailed guides on QuickBooks Desktop, visit QuickBooksupportnet.


