How to make your own custom mylar bags allows you to control style, size, and protection strength while keeping the process manageable. This approach helps you provide reliable storage for small items, food, or specific goods at home or in a workspace. Although the task may feel specialized at first, it becomes simple when broken down in a clear way. Also, making these particulars yourself gives you room to try different designs, acclimate to Custom Mylar Bags shapes, and choose accoutrements that suit your requirements. Moreover, as you continue, you gain confidence and develop a process that works easily every time.
Understanding the Custom Mylar Bags demanded Accoutrements
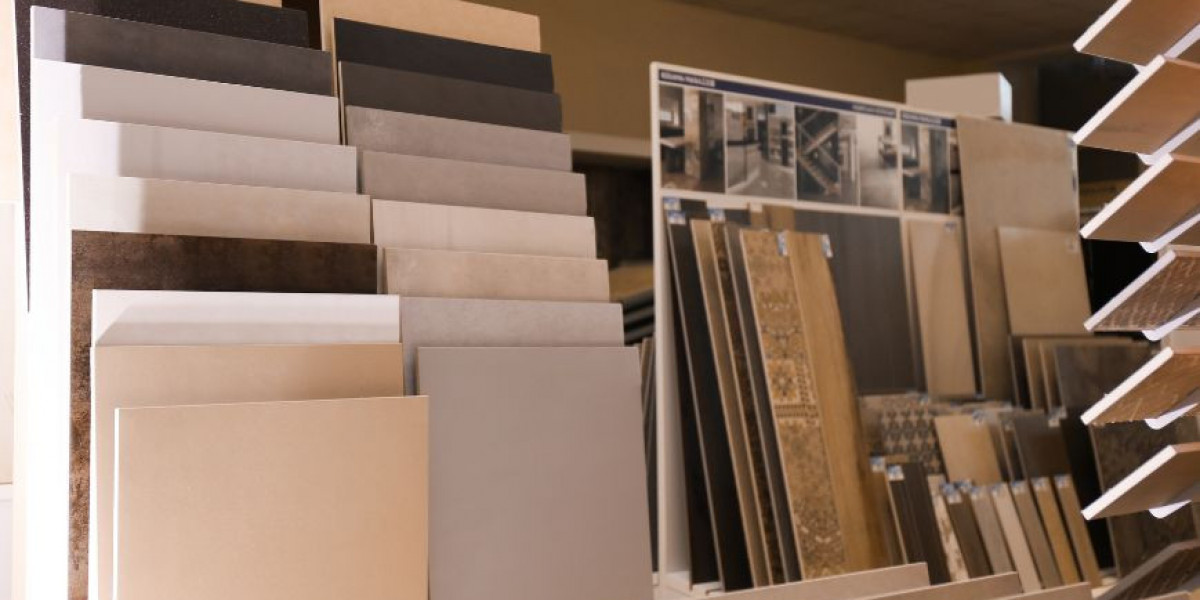
Before starting, it's important to understand the accoutrements that help you achieve a proper result. You substantially need heat-seal wastes that act as the primary structure. These wastes give a strong hedge against humidity and air, supports long-lasting newness. Also, you can add markers, colors, or published designs that match the purpose of each finished point. When you gather everything in advance, the entire process moves in a systematized and steady direction.
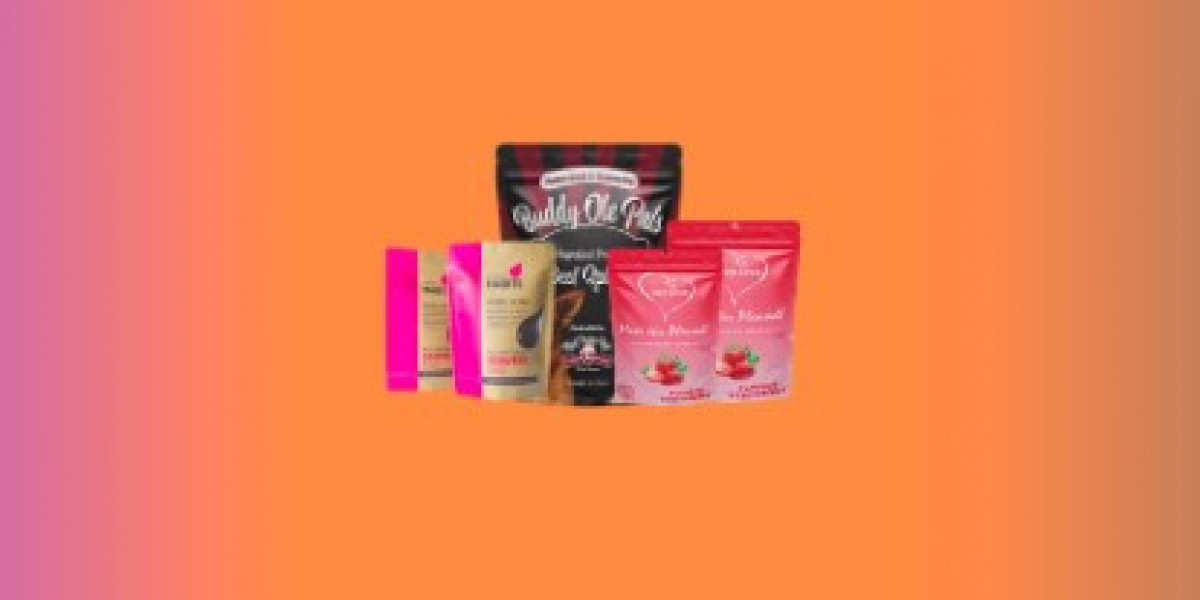
Custom Mylar bags give airtight and durable packaging that protects products from humidity, light, and air. These are ideal for food, sauces, or other perishable items. Get your Custom Printed Mylar Bags with logo in any size on wholesale prices. Get your Custom Printed Mylar Bags with logo in any size on wholesale prices.Free Design Free Shipping, Premium Quality Fast Turnaround. Product branding can possible if you print the name, tagline, or logo on your products on baggies. So that It should be as attractive and easily memorable in the mind of your customers to play a lo
SPECIFISCATIONS
|
Measuring, cutting preparing wastes
Accurate dimension plays a major part in creating useful products.
Measure materials carefully to ensure accuracy and reduce errors.
Cut materials precisely to prevent unnecessary waste and maintain quality.
Sort and organize leftover scraps for potential reuse or recycling.
Forming Base Side Structure
After preparing the pieces, concentrate on forming the introductory structure. Join the two wastes by placing them together unevenly. Make sure all edges align before sealing begins. Hold the sides forcefully so they don't slide during the heating step. This alignment determines the final strength, precluding gaps and maintaining effective checks. When the wastes sit correctly, move your hand along the edges to check that no section bends inward. This simple habit ensures the structure will seal properly and maintain its continuity for regular use throughout the storehouse.
Heat Sealing Lower Edges of Custom Mylar Bags
Once the wastes align, you can begin sealing the lower edge. Turn on your heat sealer and allow it to reach the right temperature. Press the nethermost section gently but forcefully. Slow pressure helps the wastes bond constantly. Don't rush this step because the base supports the entire structure.
Lift the sealed edge to confirm it connects evenly. However, press again precisely until closed, if a small gap appears. This strong base gives you confidence to continue shaping the product without fussing about early leakage or structural weakness.
"Every piece of packaging is a billboard for your brand."
Shaping Middle Storage Area
After securing the lower edge, shift attention toward shaping the center area.
Plan the layout to maximize space efficiently.
Arrange items logically for easy access and quick retrieval.
Use dividers or shelves to keep materials organized and secure.
Adding Personal Design Touches
This stage allows creativity in appearance and layout. You can draw simple plates, place markers, or print designs that match your requirements. Use that don't damage the face or weaken the seals. Consider choosing colors or patterns that make each point easy to identify. Adding these particular details supports association and improves overall usability. While doing this, keep transitions smooth so the design doesn't intrude on sealing areas. When appearance and structure work together, the point becomes both visually pleasing.
Final Sealing After Filling
Once you place the particulars outside, close the top using the heat Custom Mylar Bags. Press unevenly to form a tight seal that maintains newness and prevents tumbles. This final step completes your design. Check the edges for any weak spots. However, press again smoothly until completely secure, if demanded. With this sealing, your point becomes ready for diurnal use, storage, or transport. A proper top check ensures long-term trustworthiness and supports harmonious performance. When finished, set the point away to cool before mounding or storing.
Conclusion
Making your own custom mylar bags becomes simple when each step is done with care, steady movement, and a clear plan. During the process, you understand how small details contribute to continuity and ease of use. Printing Packaging play an important part in how your final piece appears, giving you a sense of order and visual clarity. When seals are placed rightly, and measures stay accurate, you achieve strong results. Additionally, by following this way constantly, you gain a dependable system that supports your particular requirements while giving you complete pieces every time.