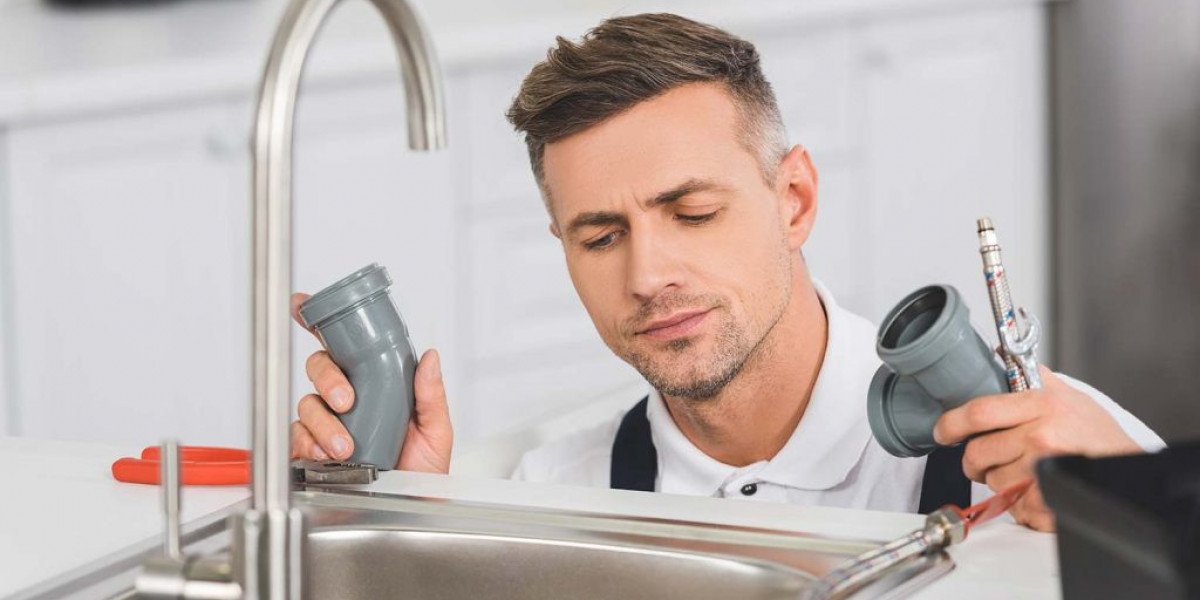
Installing a new faucet can instantly update your bathroom or kitchen function and style. Whether you're doing a kitchen faucet installation or a bathroom faucet installation, this guide walks you through the basics of faucet installation—from tool prep to final testing. Even if you plan to hire a professional installer, understanding the process helps you ensure the job is done right.
Why Replace Your Faucet?
Replacing an old faucet improves both aesthetics and performance. Modern faucets offer better water efficiency, reduce leaks, and elevate the look of your space. Beyond cosmetic upgrades, a properly installed faucet prevents water damage and ensures smooth operation—essential if you live in Gilbert, AZ, where hard water and mineral buildup can affect plumbing over time.
1. Gather Your Tools & Materials
Before getting started, make sure you have:
New faucet kit (valve, hardware, washers)
Adjustable wrench, basin wrench, plumber’s tape
Plumber’s putty or silicone sealant
Cleaning supplies (cloth, mild cleaner)
Bucket & towels for water catch
2. Turn Off Water & Remove the Old Faucet
Start by turning off the water supply under the sink. Open the faucet to relieve pressure and drain remaining water. Using appropriate tools, disconnect supply lines and mounting hardware to remove the old unit. Have a bucket ready to catch drips and protect cabinet interiors.
Once removed, clean the sink surface thoroughly and inspect for damage or mineral deposits in Gilbert’s hard water environment.
3. Install Your Replacement Faucet
Begin installation by placing any provided gaskets or using plumber’s putty for a watertight seal. Drop the new faucet into place, then secure it from below using mounting hardware. Hand-tighten initially, then finish with a wrench—taking care to avoid overtightening.
Next, reconnect the supply lines to ensure a snug, leak-free connection. Apply plumber’s tape to threaded connections to seal properly.
4. Check for Leaks & Function
Turn water back on slowly and test the faucet. Check all connections—especially supply lines and valve joints—for any drips. Test both hot and cold handles, and observe the water flow for smooth operation.
If leakage occurs, gently tighten connections or reseal using plumber’s tape. Avoid adjusting excessively to prevent damage to fittings.
5. When to Hire a Local Faucet Plumber
While a DIY process can save money, some installations are best handled by a licensed professional—especially if:
You're replacing a more complex faucet
Installing new supply lines or valves
Working in commercial or high-use settings
Local faucet plumbers familiar with Gilbert's plumbing conditions can ensure proper installation and code compliance. They also handle faucet replacement when modifications or upgrades are required.
If you prefer expert care or lack DIY comfort, a trusted provider like Heatwave Water Heater Service can assist with faucet upgrades, ensuring a high-quality finish and professional standards.
Tips for an Affordable Faucet Install
Choose a faucet kit that includes all required components
Match fixture finishes and water-efficient features
Write down model information for future maintenance
Shop local supply stores for deals on high-rated brands
Understand warranty policies before purchase
Simple planning ensures your affordable faucet install looks great and works reliably for years.
Benefits of a Proper Faucet Installation
A well-done installation brings:
Clean, drip-free performance
Better water flow and control
Reduced risk of leaks or water damage
Improved function and aesthetics for kitchen or bath
Peace of mind knowing the job was done right
These advantages apply whether you're updating a bathroom faucet installation or completing a full kitchen setup.
Protecting Your Investment
Once installed, maintaining your faucet helps it last:
Wipe fixtures regularly to remove mineral buildup
Clean aerators every few months for smooth flow
Monitor for slow leaks or handle stiffness
Reapply sealant if you notice moisture near the base
Periodic care ensures long life and prevents avoidable damage.
Conclusion
Faucet installation can be a straightforward way to freshen and improve your home, whether in the kitchen or bathroom. With the right tools, careful steps, and knowledge of what to watch for, DIY installation is possible. But if things seem complicated—such as under-sink configurations or plumbing modifications—don’t hesitate to call a professional faucet installer who understands local conditions in Gilbert, AZ.
FAQs
Do I need plumber’s putty or silicone?
Check the manufacturer’s instructions—either may be required for a proper seal.
Can I swap kitchen and bathroom types?
Not always—check hole placement and water line compatibility before purchasing.
How do I fix a drip after installation?
First, check the tightness of connections. If dripping continues, reseal or replace washers.
Will this reduce water usage?
Yes—modern designs often include flow restrictors that cut water use without lowering performance.


