When it comes to improving your home's comfort and energy efficiency, few upgrades are as impactful as a proper boiler installation. Whether you're building a new home or replacing an outdated system, knowing what to expect during the process helps avoid surprises and ensures long-term satisfaction.
This guide walks you through each stage, from selecting the right system to the final safety checks, making sure your investment delivers lasting value.
What to Expect During the Installation Process
Choosing the right installer is just as important as selecting the right equipment. A qualified team—such as the professionals at Bear Creek Heating and Air Conditioning can help ensure the installation is done safely, efficiently, and in line with modern standards. Now, let’s look at the process step by step.
1. Initial Assessment and Planning
The first step in residential boiler installation is a full assessment of your home’s heating needs. A technician will evaluate:
Property size
Number of radiators
Existing pipework and controls
Fuel type availability (e.g., gas or electric)
This helps determine whether a gas boiler installation, electric boiler installation, or combi boiler installation is most appropriate for your space.
2. Selecting the Right System
Once your heating needs are clear, you’ll select a unit that suits your budget and performance requirements. Modern energy-efficient boiler installation options are highly recommended due to their reduced fuel usage and lower emissions.
Whether you're upgrading from an old system or starting fresh, reliable systems today include combi models, system units, or conventional types—each with unique benefits.
3. Preparing the Area
Before the system can be fitted, the area must be cleared. The installer will:
Remove the old unit (if applicable)
Drain the existing system
Prep walls or utility spaces for mounting the new equipment
This phase may also include minor plumbing work, especially for those upgrading during boiler replacement and installation.
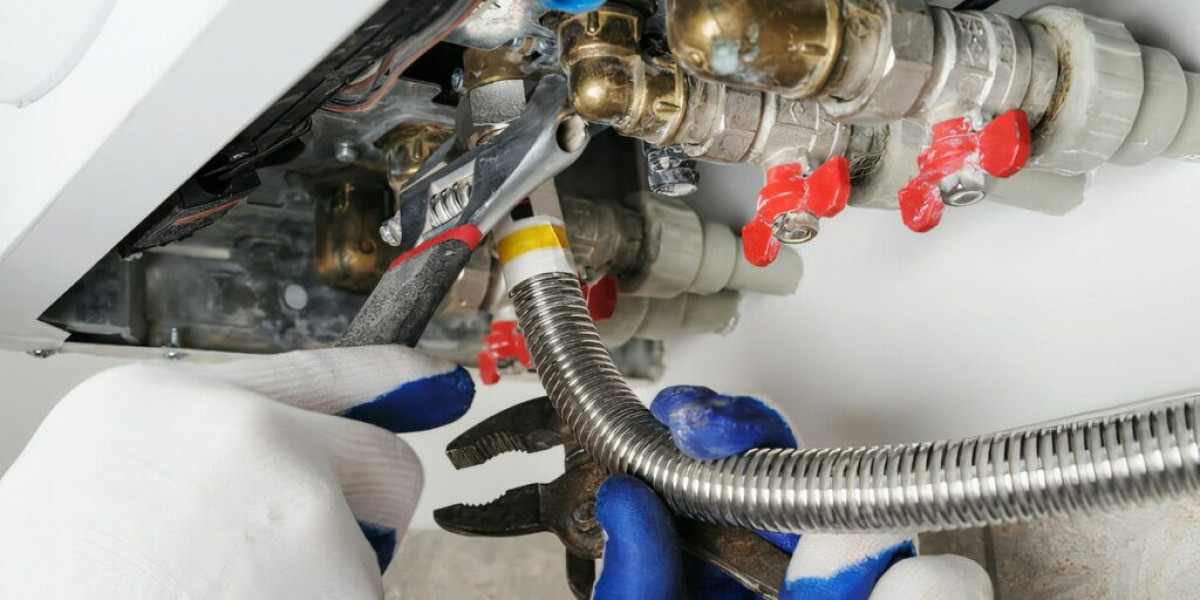
4. Fitting the New Equipment
Next comes the actual boiler fitting. The unit is mounted and connected to your central heating installation system. Depending on your chosen model, this could include water pipes, gas lines, or electrical connections.
Professional boiler installers will ensure everything is secured according to safety regulations, with all connections properly sealed to prevent leaks or pressure loss.
5. Testing, Commissioning & Final Checks
Once installed, the system is tested for performance and safety. This includes:
Pressure checks
System flush (to remove any debris)
Thermostat syncing
Control panel programming
A certified installer will also walk you through how to use your new system efficiently, making sure you’re comfortable with its operation.
Considerations for Different Property Types
Installation can vary depending on the type of property:
Residential boiler installation typically focuses on comfort, energy efficiency, and space-saving options like combi units.
Commercial boiler installation may require higher capacity systems and zoning to handle larger square footage and more complex demands.
Understanding your home’s specific needs helps ensure your system is properly matched and efficiently installed.
Efficiency and Long-Term Benefits
Choosing an energy-efficient boiler installation can significantly reduce your monthly heating costs. Modern systems not only lower carbon emissions but also reduce maintenance needs over time. With proper installation, the average system can operate efficiently for over 10 years with minimal servicing.
Upgrading your setup also adds resale value to your home. Whether you’re replacing a system as part of a renovation or responding to an unexpected breakdown, installing a modern unit pays off both financially and practically.
Final Thoughts
A successful boiler installation starts with informed decisions, qualified installers, and a clear understanding of the process. From initial planning to the final test, every step matters in creating a safe, warm, and energy-efficient home.
Taking the time to choose the right system and the right professionals ensures that your heating setup performs reliably for years to come. Whether you're considering a combi boiler installation, converting to electric, or managing a commercial boiler installation, investing in the right team and technology makes all the difference.
FAQs
1. How long does a typical installation take?
Most home heating systems are installed within 1–2 days, depending on complexity and whether an old unit needs to be removed.
2. Can I switch to a combi setup from a traditional system?
Yes, in many cases. A combi setup is ideal for smaller homes without space for a hot water tank, but suitability depends on your water pressure and usage.
3. What’s the difference between gas and electric systems?
Gas models are often cheaper to run but require a gas line. Electric systems are easier to install, especially in areas without gas service, but may have higher operating costs.
4. Are energy-efficient systems worth the investment?
Absolutely. While they may cost more upfront, they lower fuel consumption and monthly bills, often qualifying for rebates or incentives.
5. How do I choose between residential and commercial-grade systems?
Residential units are designed for homes, while commercial systems handle larger spaces and heavier demand. Always base your choice on the building’s size and heating needs.